Now its time to start soldering the remaining through hole components, which are mostly connectors of one sort or another. You'll need to change the tip on your soldering iron to a thicker one, or use a soldering iron with a thicker tip.
Start by soldering the three PCB mount right-angles SMA sockets J1 to J3. Each of these sockets have five terminals, four of which are ground connections and are connected directly to the metal casing of the socket, which acts as a heatsink. For this reason these sockets are quite difficult to solder - they require a lot of heat and I found that increasing the temperature of my soldering iron helped considerably. Next insert the two multiturn potentiometers VR1 and VR2 and solder them in place, remembering to trim the terminals back flush with the soldered joint.
Next attach PCB pin terminals PL2, PL4, PL5 and PL 6 (which are 5-way, 4-way, 2-way and 2-way terminals respectively) and solder in place. Then insert the two 10-way PCB sockets PL3A and PL3B and solder in place. The DDS module will be plugged into these sockets, but you can solder the DDS module directly on to the Raspberry Pi Wobbulator PCB if you prefer, in which case you won't need the sockets.
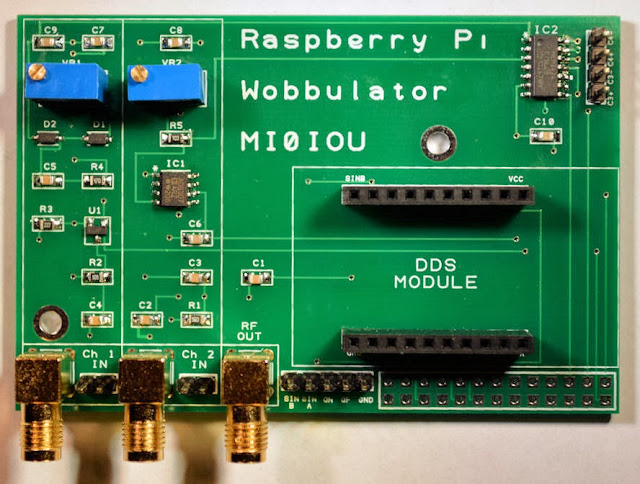
Finally, insert the 26-way GPIO header from the underside of the PCB and solder in place. The completed Raspberry Pi Wobbulator is shown below.
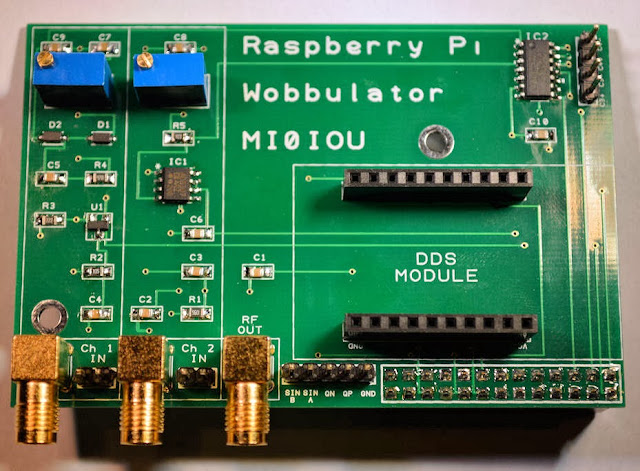
And the following photo shows what the underside of the PCB should look like. The two large holes on the Wobbulator PCB line up with the holes in the later versions of the Raspberry Pi PCB and can be used to securely connect the Wobbulator PCB to the Raspberry Pi PCB using PCB spacers if you prefer
All that remains to do is to plug your DDS module into the Wobbulator PCB and then connect the Wobbulator PCB to your Raspberry Pi by plugging it into the GPIO header. The following photo shows the final assembly, ready for testing.
My next blog post will give details of the setup and testing procedures for the Raspberry Pi Wobbulator. If you are interested in getting your hands on a Raspberry Pi Wobbulator PCB or component kit then please visit www.cutpricecables.co.uk/irpiwobbulator.html . The PCB is priced at £12.00, and the PCB plus kit of components is priced at £40. This includes all sales taxes and free worldwide delivery. You can purchase online and pay by credit or debit card, or PayPal.


ReplyDeleteThanks for share this POST see also:
شركة مكافحة حشرات
شركة تنظيف بالمدينة المنورة شركة تنظيف بالمدينة المنورة
شركة مكافحة حشرات بالمدينة المنورة شركة مكافحة حشرات بالمدينة المنورة
ارخص شركة نقل عفش بالمدينة المنورة ارخص شركة نقل عفش بالمدينة المنورة
افضل شركة تسليك مجارى بالرياض
ارخص شركة تنظيف بالدمام
شركة تنظيف بينبع
Very nice blog yoou have here
ReplyDelete